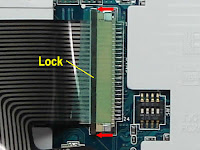
Let’s say the keyboard in your laptop stopped working properly and you decided to install a new keyboard yourself. You disassembled the laptop, removed the keyboard, tried to unlock the keyboard connector and… OHH! MAN!… a piece of the locking clip on the connector got broken!
What can you do? Unfortunately, you don’t have a lot of options. The keyboard connector is permanently soldered to the motherboard and cannot be replaced at home. If the connector was damaged, you’ll have to replace the whole motherboard, use the laptop with an external USB keyboard, or…. try the following trick. Hopefully it works or you.
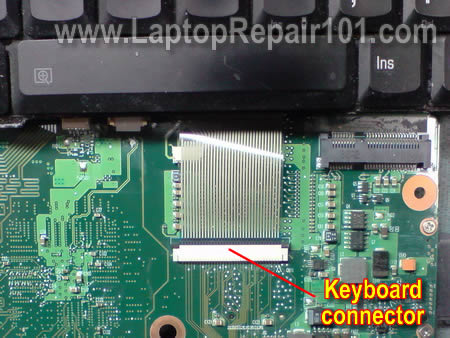
The keyboard cable is locked inside the connector on the motherboard. In order to remove the keyboard, you have to unlock the connector and release the cable.
On the picture below you see one of the most common connectors. It has the base (white in my case) and locking clip (brown in my case). The keyboard cable is jammed between the locking clip and base.
To unlock the connector, you have to move the locking clip about 2 millimeters in the direction shown by two yellow arrows.
IMPORTANT! The locking clip must stay attached to the connector base.
After that you can pull the keyboard cable (green arrow) and remove the keyboard.
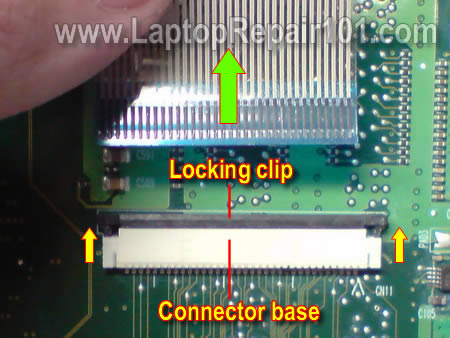
If you are not careful enough, you can move the locking clip too much and break it.
On the picture below you can see the locking clip is missing the left hook.
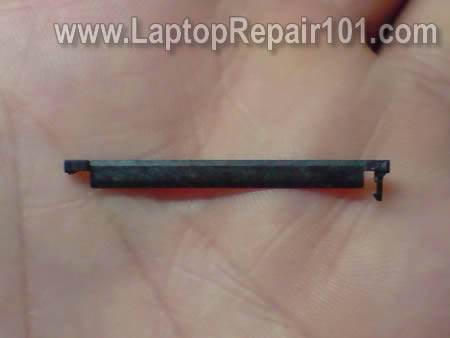
On the next picture both sides of the clip are broken.
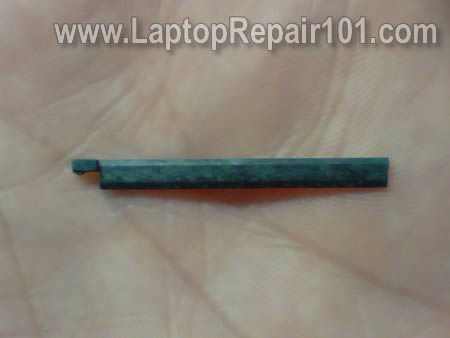
IMPORTANT! Do not though away the broken clip even though it looks completely useless.
If you insert the cable into the connector and will not lock it with a clip, the cable will not make good contact with pins inside the connector and the keyboard will not work.
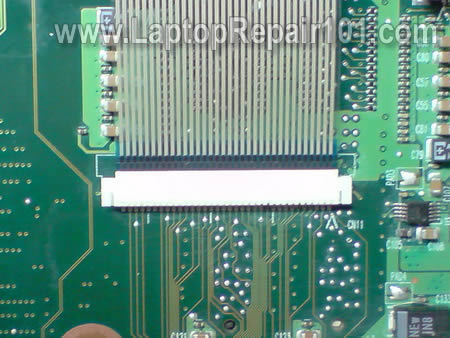
Here’s how to install the broken clip back in place and make it work.
Position the broken clip the way it was before. In my case both sides of the connector are broken. What could have been worse?
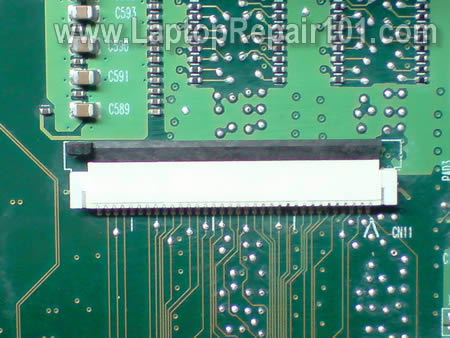
Carefully insert the keyboard cable into the connector. Note, in this type of connector, the cable goes above the locking clip.
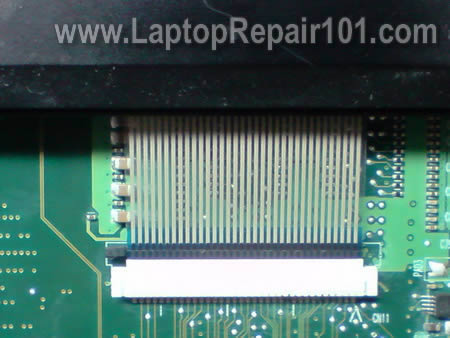
Carefully push the broken clip back in place. You can use a small screwdriver to push on the clip behind the cable.
The clip fits tightly when there is a cable inside the connector.
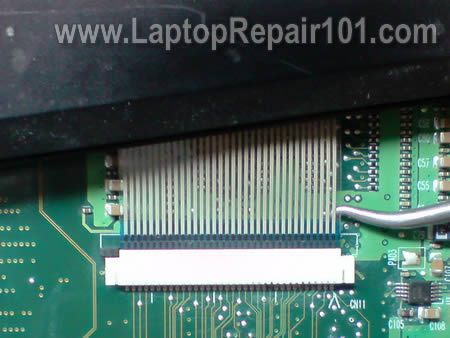
Secure the connection with sticky tape and you should be good to go. The keyboard should work just fine.
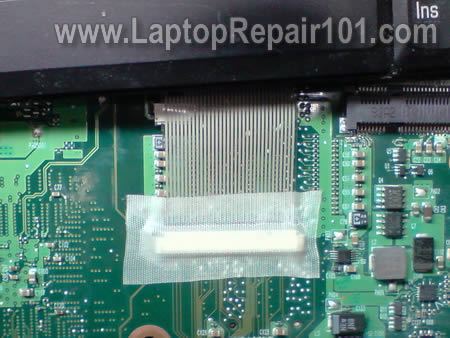
The keyboard connector shown on the following picture is very similar to the previous one. The only difference – the keyboard cable is routed under the locking clip. Fix it the same way as the previous connector.
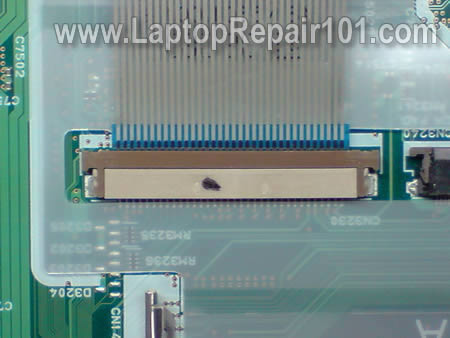
On the next picture you see another type of keyboard connector. The cable is inserted vertically.
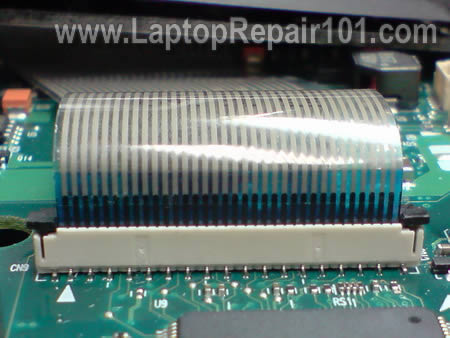
In order to unlock the connector, you’ll have to move the locking clip (brown piece) about 2 millimeters up in the direction shown by two yellow arrows. After that you can pull the keyboard cable (green arrow) and remove the keyboard.
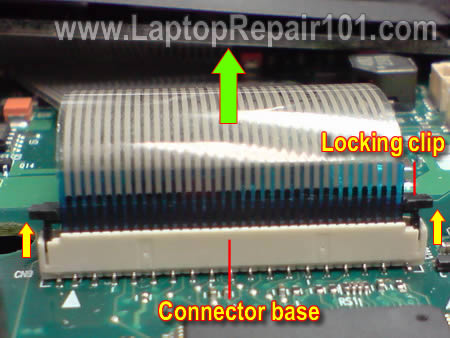
If you move the locking clip too far, you can break it.
In my example the right side of the clip is broken. But you still can use it!
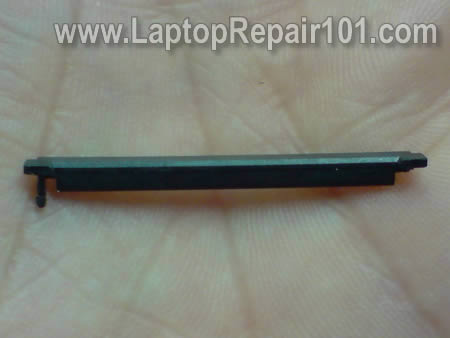
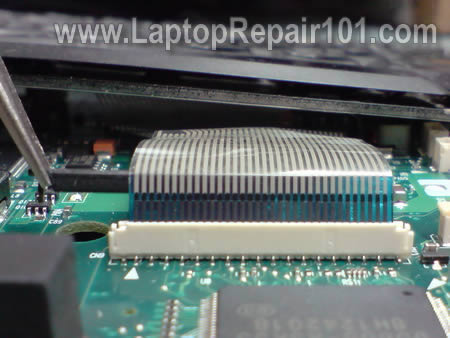
Insert the keyboard cable into the connector, position the broken locking clip correctly (behind the cable in my case) and carefully push it in.
Even with a broken clip the cable will make good connection with the base and the keyboard should work.
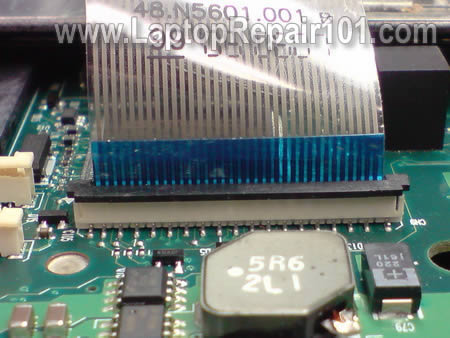
Here’s the same connector shown from the opposite side. You cannot even tell if the locking clip is broken.
If this trick worked for you, it means I just saved you a few hundred bucks on the motherboard replacement.


